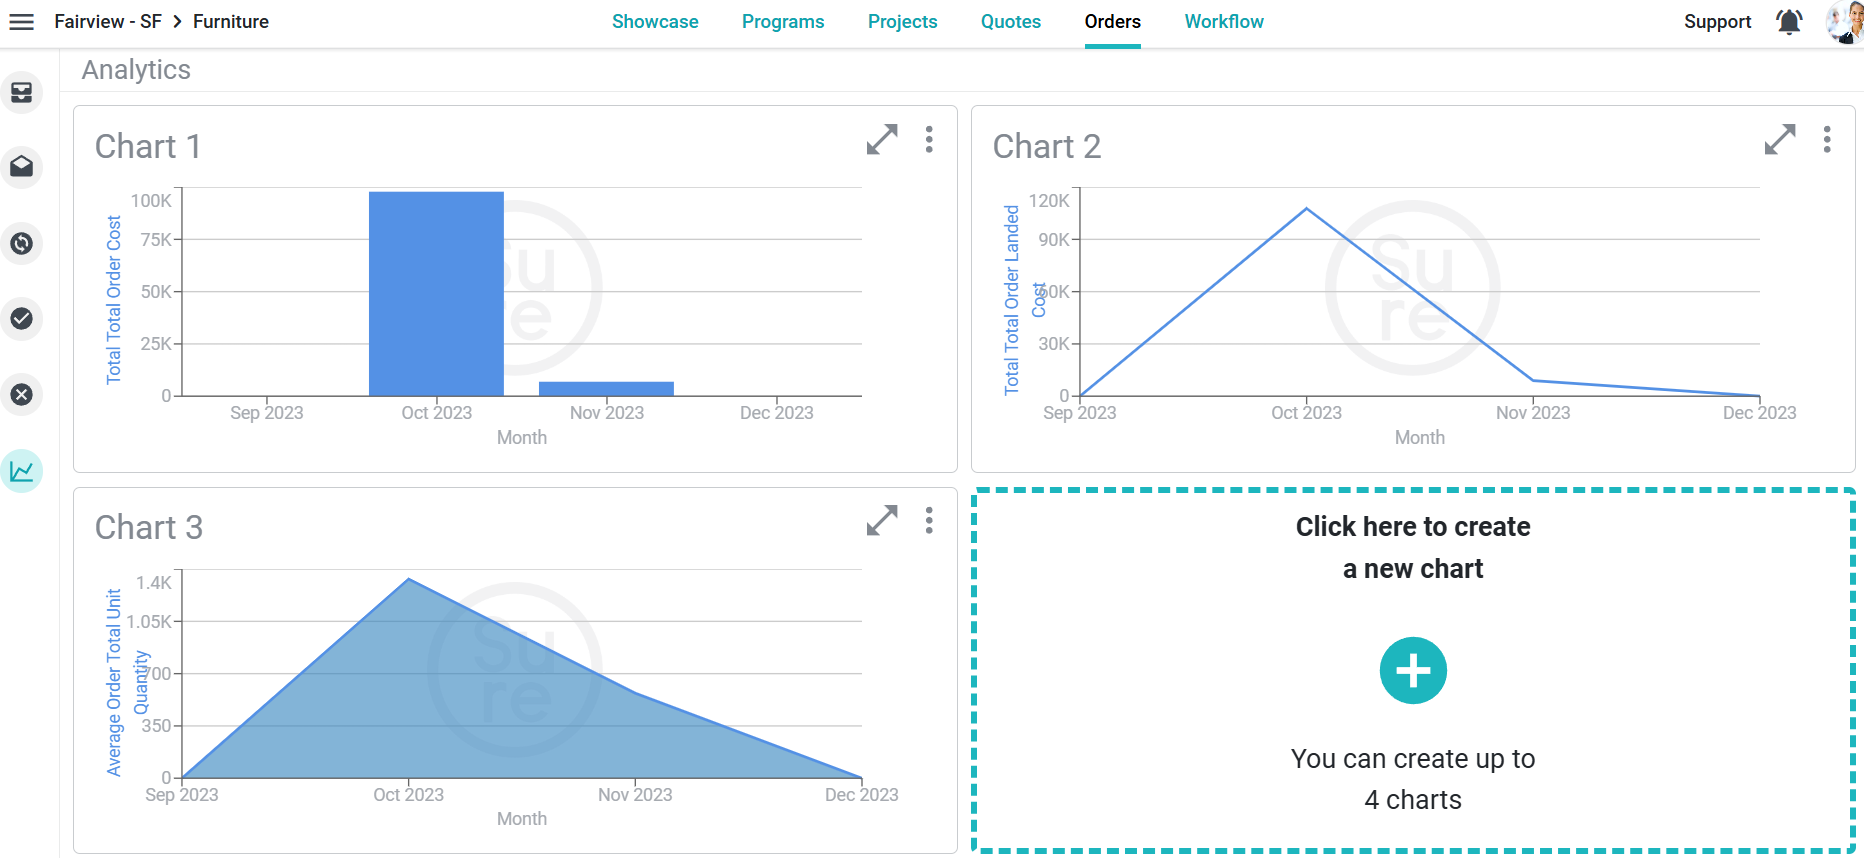
Analytics Feature in Projects, Quotes & Orders
Create graphs in product lifecycle management based on projects, quotes or orders
JCreate up to 4 graphs in product lifecycle management using the analytics feature in Surefront.
The feature can be found within product lifecycle management. Choose projects, quotes or orders, then select Analytics along the left side menu.
To begin: Click the + Sign to add a new graph.

The analytics tool requires filling in the below data to create the graph.
Click + next to Data Type
-
Product or
-
Order
-
Click + next to Data Source
-
Range of drop downs to choose from
-
Once a drop down is chosen, select if the data should be Averaged or Totaled
-
Click + next to Date Range
-
Range of date drop downs to choose from
-
Once a range is selected, click Apply
-
Click + next to View By
-
A variety of drop downs to choose from including week, month, quarter
-
Click + next to Chart Type
-
Choose from Line, Bar or Area
-
The graph will automatically appear
To Save, Edit, Open, Rearrange or Delete
To save your graph, add a title and click save
To edit your graph, click the 3 dots in the upper right corner of your graph and click edit
To enlarge your graph, click the expand arrows
To rearrange the 4 graphs, drag and drop a graph from one section to another
To delete a graph, click the 3 dots in the upper right of your graph and click delete or click delete within the edited graph
Optional: Add field filters
Click the filter button in the upper right-hand corner
Click + Add Filter
A drop down will appear with all fields within Surefront
Choose a field
Choose what kind of data to add
Click Add
Repeat above steps to add more field filters
Click Save when finished
To remove the filter
Click Filter
Click Clear All
Click Save
Click + next to Data Type
Product or
Product or
Order
Order
Click + next to Data Source
Range of drop downs to choose from
Range of drop downs to choose from
Once a drop down is chosen, select if the data should be Averaged or Totaled
Once a drop down is chosen, select if the data should be Averaged or Totaled
Click + next to Date Range
Range of date drop downs to choose from
Range of date drop downs to choose from
Once a range is selected, click Apply
Once a range is selected, click Apply
Click + next to View By
A variety of drop downs to choose from including week, month, quarter
A variety of drop downs to choose from including week, month, quarter
Click + next to Chart Type
Choose from Line, Bar or Area
Choose from Line, Bar or Area
The graph will automatically appear
To Save, Edit, Open, Rearrange or Delete
To save your graph, add a title and click save
To edit your graph, click the 3 dots in the upper right corner of your graph and click edit
To enlarge your graph, click the expand arrows
To rearrange the 4 graphs, drag and drop a graph from one section to another
To delete a graph, click the 3 dots in the upper right of your graph and click delete or click delete within the edited graph
Optional: Add field filters
Click the filter button in the upper right-hand corner
Click + Add Filter
A drop down will appear with all fields within Surefront
Choose a field
Choose what kind of data to add
Click Add
Repeat above steps to add more field filters
Click Save when finished
To remove the filter
Click Filter
Click Clear All
Click Save
Did this answer your question?😞😐😃